Cosplay weapon: a magnetic tiara
Our story starts a bit over a year ago, when I was beginning to construct the antlers to wear to my wedding.
They were going to be intensely large, and so I wanted to be able to easily take them off when they were too heavy. Gratuitous wedding photos here, by JJWenzel Images:


My friend Marc (O.S. Cosplay on Facebook, and Shredder on Twitter) and I designed a metal tiara made of heavy brass to which we could attach rare earth magnets, so that the antlers could be taken on and off. He was instrumental to this process! This idea is similar to the technique used for Angelina Jolie in the movie Maleficent, by the way! Alas, the antlers from my wedding were several pounds too heavy for our idea to work, but I've used it over again for several other pairs of ears/horns/etcetera. From this point on, I'll be referring to them as "ears" even though they can be anything. It makes it easy to travel and get ready, because I can wear the tiara under my wig while driving/walking in tight spaces/taking breaks and then just snap on the ears. The other nice thing is that this method does not damage your wigs - you don't have to cut holes in the wig for them to poke through, so wigs can be re-used for many projects.


We built the tiara to be able to withstand a great deal of weight, so it is definitely too strong for a bunch of the projects I use it with now, but that's nice too because I know nothing's going to move.
Materials & Construction notes
The tiara uses brass rods from Home Depot: https://www.homedepot.ca/en/home/p.316-round-brass-rods-3.1000170110.html & https://www.homedepot.ca/en/home/p.18-round-brass-rods-3.1000170106.html
They are welded together at the intersecting points, (Thanks again to Marc!) but you could probably also wire them together.
Four 1" Rare Earth Magnets from Lee Valley (http://www.leevalley.com/en/Hardware/page.aspx?p=32065&cat=1,42363,42348&ap=1) are attached to the sides with Polyester resin from Canadian Tire (http://www.canadiantire.ca/en/pdp/bondo-fiberglass-resin-0475807p.html) and some thin interfacing that I had lying around. (Don't use fiberglass matting for this.) I originally tried to epoxy the magnets, which is what Lee Valley suggests, but the angle and strength of the magnets, and how the attachments pull at them, meant that they kept popping off.
Behind the rods on either side I padded the tiara with some cheap Fabricland felt. (You don't need more than tiny pieces.) Because my wig is so strong, I didn't need to close the back. If you use lighter wires, I recommend adding an elastic so that they join at the back to help it stay put.
The ears use another set of two (or four depending on their weight) magnets. I frequently use wire to create a figure eight shape around the magnets within the ear. This outdoor wire from Home Depot is cheap and works great. They also have a plastic-coated version which I like cause it is easier on my hands. (http://www.homedepot.com/p/FARMGARD-9-Gauge-10-lb-171-ft-Coil-Smooth-Wire-317527A/206741174) Your ears can be whatever material you like but the lighter the better. My last set of ears used the extra-light high density foam (http://www.homedepot.com/p/Owens-Corning-FOAMULAR-1-2-in-x-4-ft-x-8-ft-R-3-Squared-Edge-Insulating-Sheathing-36L/100320356) but make sure to cover it in something as it is fragile.
Functionality and weight notes
The way the tiara works is that it is designed to closely follow the shape of the human head. Heads, when viewed from above, are not perfectly round, they're more of an oval. Because the bars follow this oval shape, the tiara cannot slip side-to-side because there is no room for it to move this way. This means that the tiara has to be exactly fitted to the oval shape of your head.
The magnets follow the curve of your head as well, so that they do not protrude and stretch the wig. (Some small wigs will have difficulty fitting over the wire frame to start with, so you want to keep everything as flat as possible). What this means is that the magnets you attach to the ears must exactly match this curvature. Because of this, I typically use wire (9 gauge is my favourite, because it is cheap) that I can bend to match the shape, and epoxy the magnets inside of this figure eight.
The further apart the two magnets are, the exponentially weaker the magnet bond becomes, so it is very important to have as smooth a joint as possible, and make sure that the magnets touch as closely as possible. When putting them on, I pull as much hair of the wig out of the way as possible too.
Important functionality note: Because the rare earth magnets are so strong, they will pull decorative bobby pins, pins (and anything else that is metal) that hold your hair towards themselves. If a bobby pin gets in between the joint between the two magnets, its width is enough to decrease the magnetism to a failure point - your ear will fall off. Make sure you only use bobby pins for attaching your wig to your head, and use plastic clips if you need to style the wig.
Ear attachment notes
Thus far I have tried three different ear attachment methods and figured I'd describe the pros and cons of each.
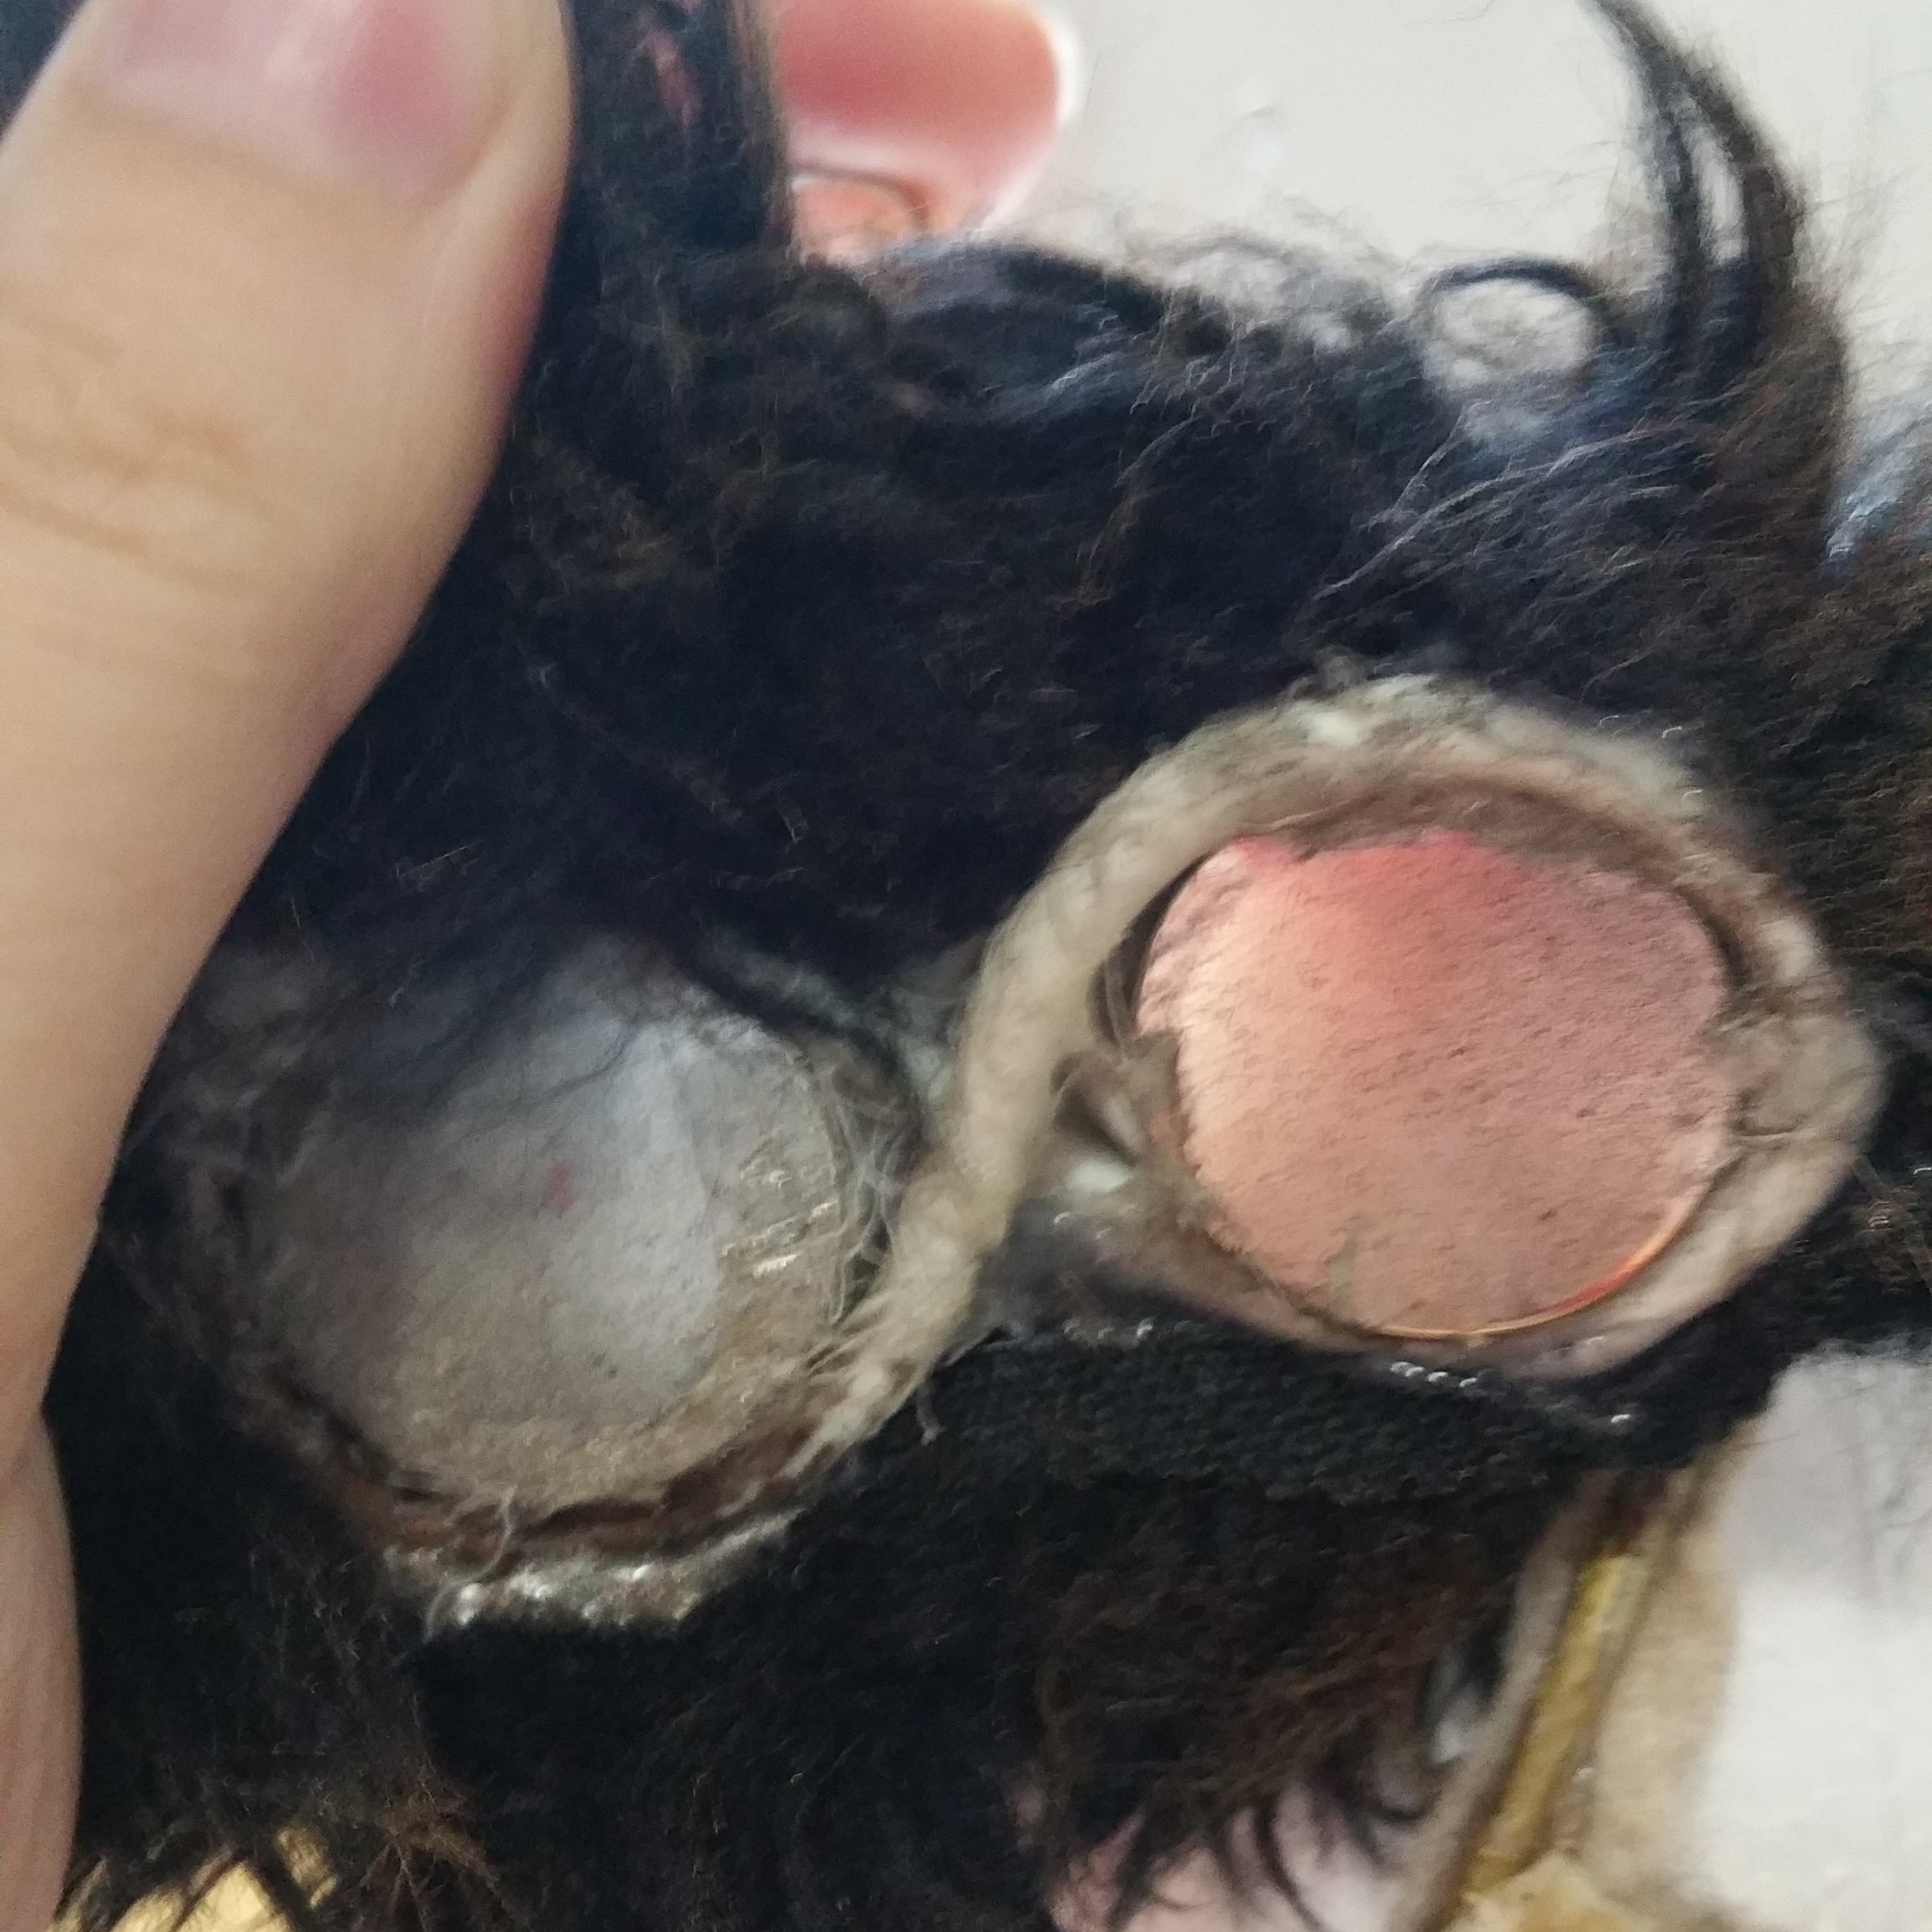
Less magnets & reinforcing hairband

These ears use only two magnets in each one, near the bottom of the ear. A thin wire hairband is attached at the top corner of each ear as added support. This attaches the two ears together, keeps the ears from twisting and supports the downward pressure. Because of this, less magnets are needed as their job is more reinforcement than the full pressure of the ear weight. This was a test of a new method to see what multiple techniques could accomplish and it is very sturdy.
Epoxy & Wire


These antennae use two magnets epoxied within a wire figure-eight, hidden underneath the fur. Because of the weight of the antennae, full contact of the four magnets was required so that when I swung my head, the weight would not pull against the magnets. Four were also needed in this case in order to keep the magnets upright, as otherwise they would rotate downwards.
Embedded with polyester resin

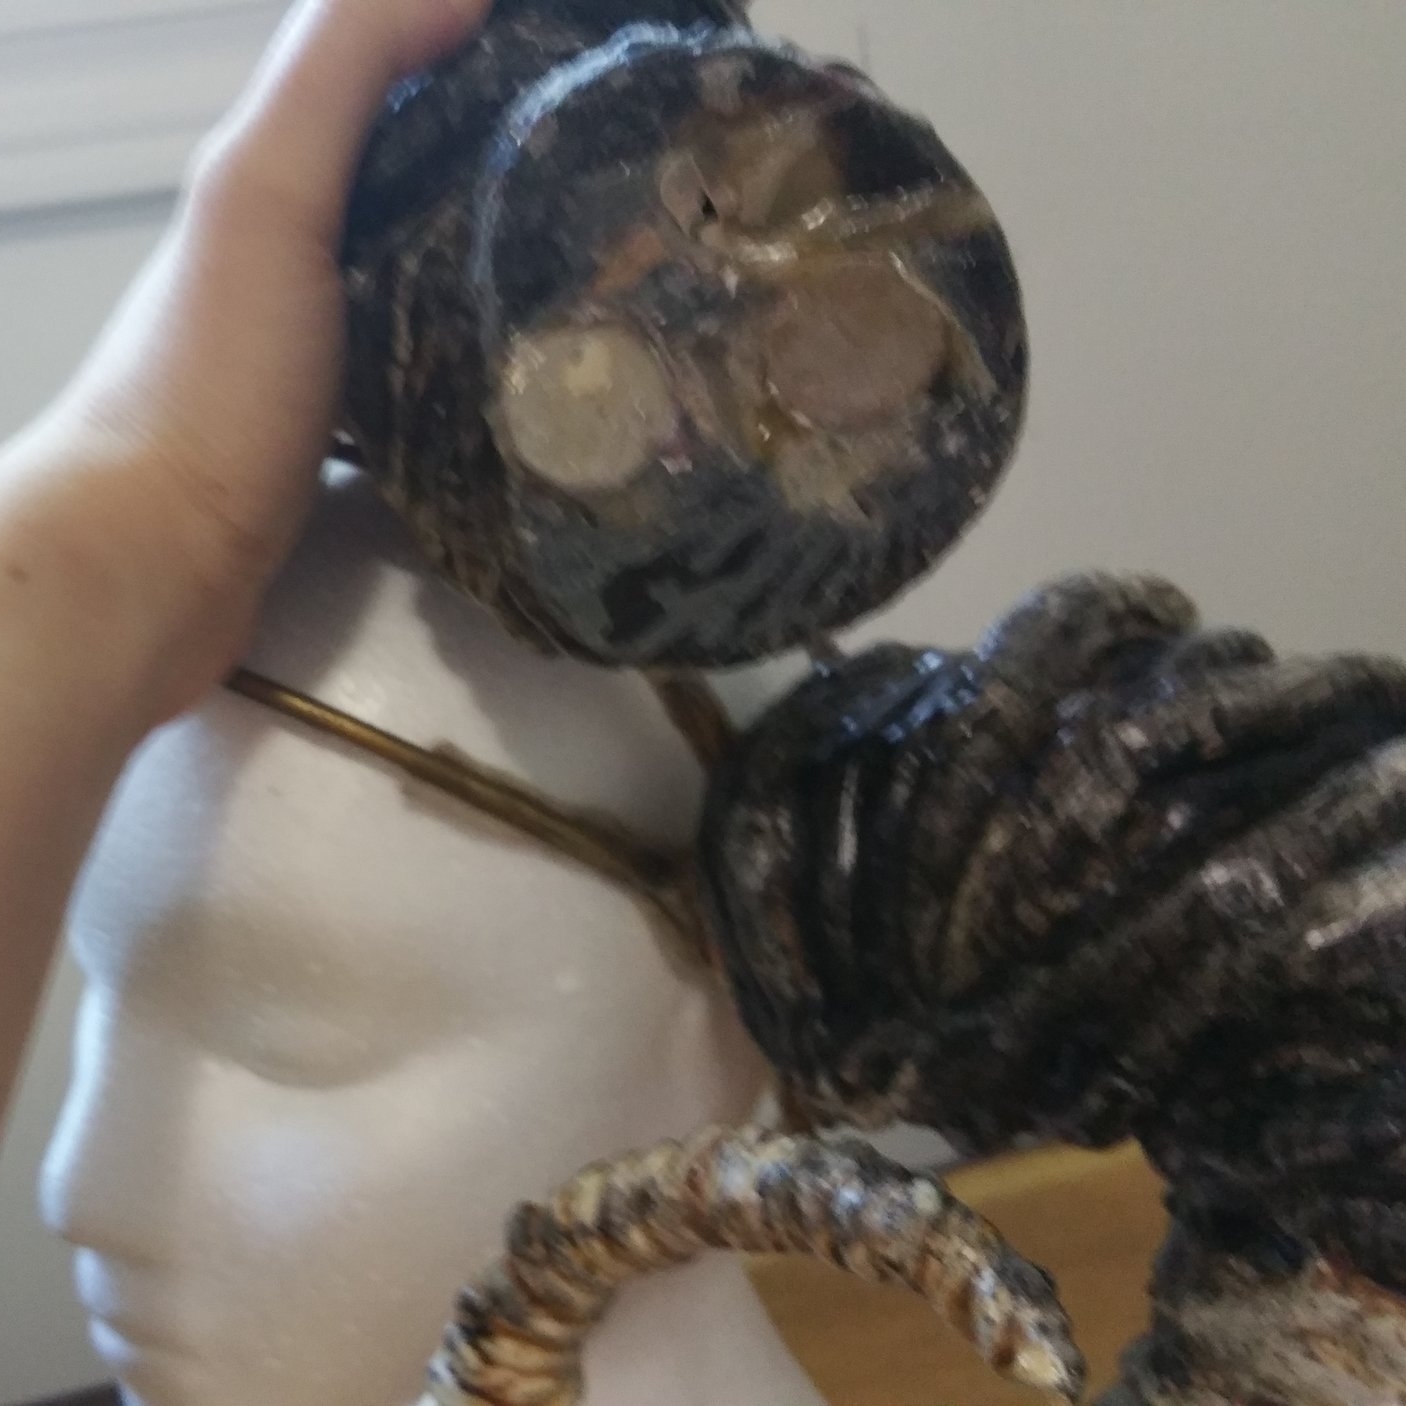
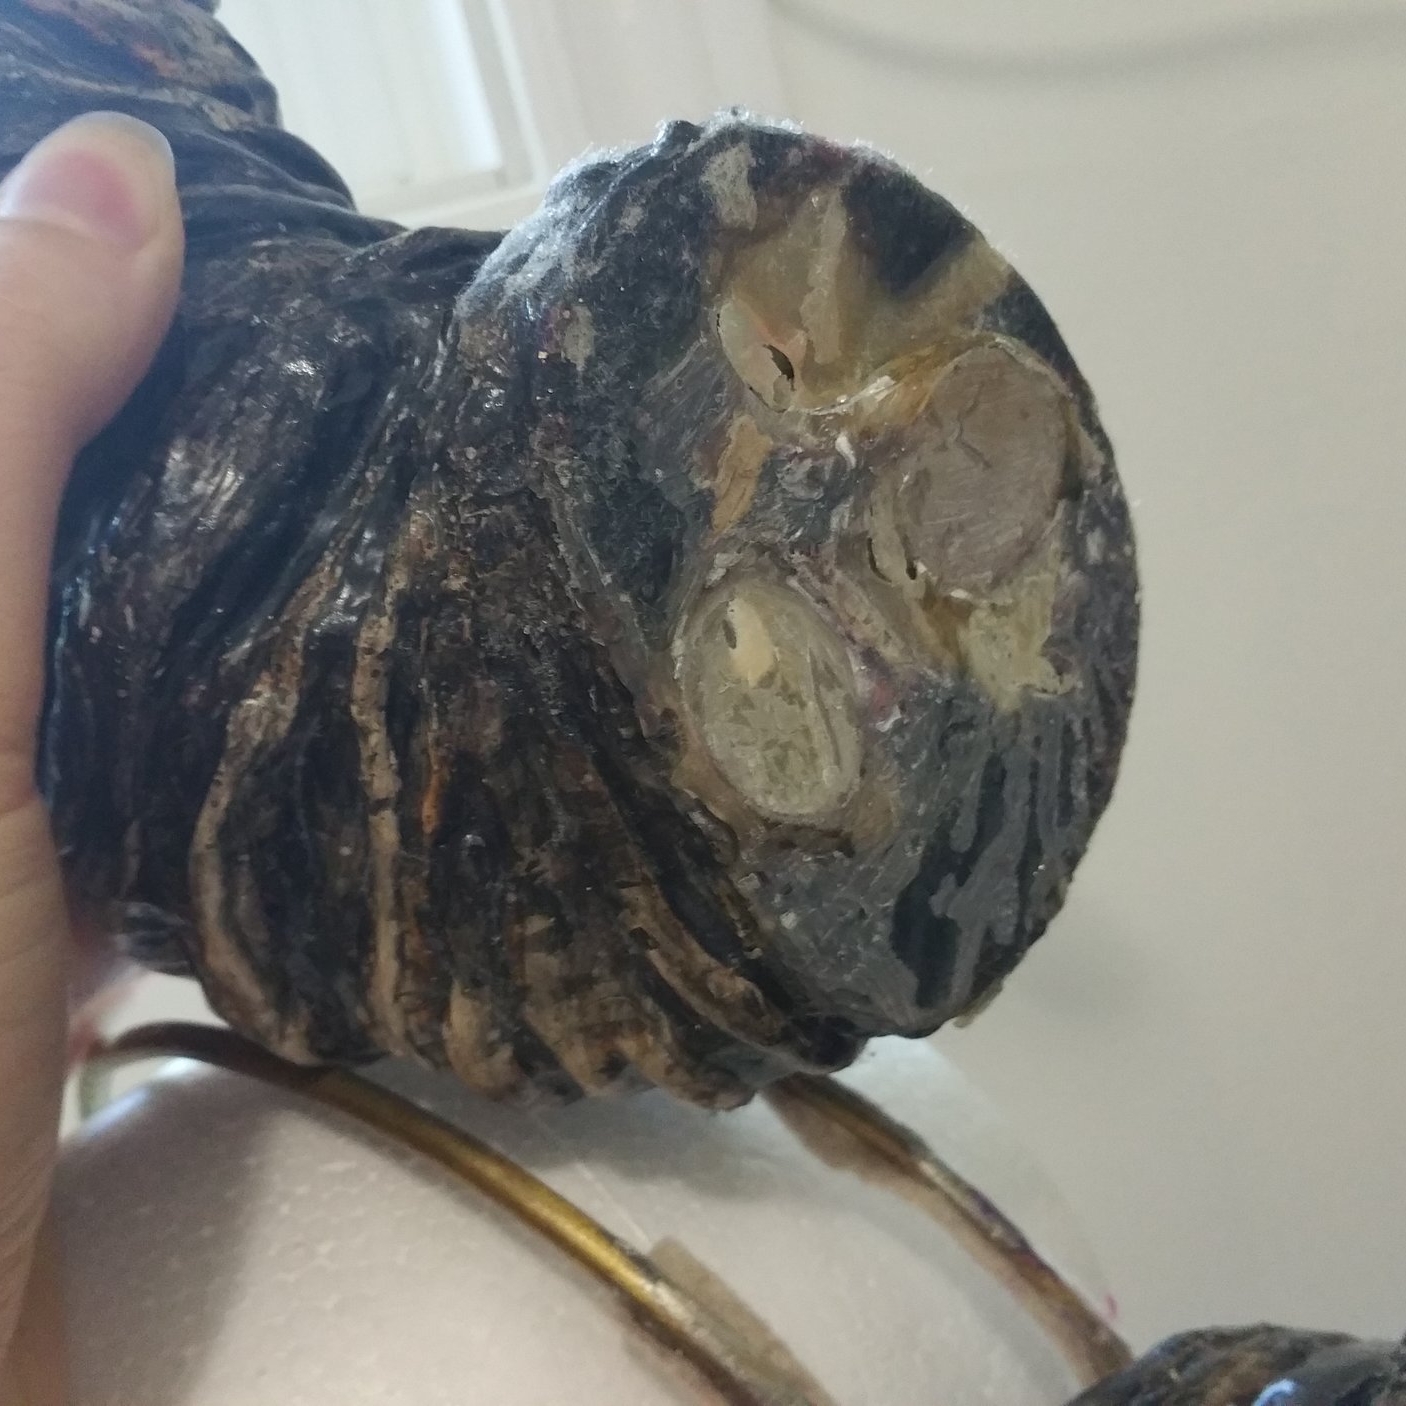
These horns use two magnets embedded into the end of the horn. A horn of this size needs the full contact of the four magnets in total to support the weight, because it is so horizontal and therefore there is so much downward torque. The magnets were added with polyester resin to the inside because the substrate of these horns, made with papier mache, would have ripped with the strength of the magnet when attached/removed.