Lilo & Stitch free ears pattern AND INSTRUCTIONS
I'll be going to an Ohana-themed party later tonight. I'm sure everyone else will be wearing flowers, bikinis, sarongs, and fairly horrendous Hawaiian shirts. For me, Ohana means only one thing:
“Ohana means family. Family means nobody gets left behind or forgotten.”
― Stitch from Lilo & Stitch
Needless to say, I planned to dress to match. I figured I'd share this quick tutorial on how I patterned Stitch's ears, and share my pattern for free.

For those who want to know, here's how I made the pattern.
(Everyone else, feel free to scroll down to get to the pattern download & ear-making instructions)
I use Adobe Illustrator to create my patterns, although it definitely isn't the only program that can do this. Basically what you need is a program in which you can import an image and then trace it to create a vector shape that can be scaled to any size. Rather than repeating instructions on this, please watch Kamui Cosplay's tutorial video on this:
Here you can see my tracing superimposed on the Stitch image I used. You need a very straight-on image, so that you can make sure that the shape you're tracing isn't warped. It was very hard to find front views of Stitch where his ears both looked pretty equally sized.
Once I created one ear, I used the transform tools to copy that exact shape and flip it, so that the other ear would be identical. I then moved the little cuts he had so that they were in the right place.
You'll notice the tracing doesn't quite match near the bottom - that is purposeful, to account for where the ear folds.
The next step is to figure out how big the ears should be. I tend to make things slightly bigger than needed as it keeps it looking fun and animated.
Stitch's ears are about the same width as his head. His head is about one and one-third as wide as it is tall.
My head is about one and one half times the width.
How do we rectify these very different measurements? I went with a simple ratio: Stitch's ears are the same width as the wider of his two head measurements. I'll do my ears the same as the wider of my two head measurements. Using a mirror and a tape measure, I determined my head was about 10" tall, so that was how tall I resized my ears to be.
I printed and adjusted my patterns a few times until I was satisfied with the shape. The free pattern that I've offered hear is the 10" ear length.


Instructions on how to make ears with my pattern:
Download the pattern. DOWNLOAD IT HEEEEERRREEE!!!!
Print out the ears. If the size is good as-is, you can print them out at 100%. They fit on regular letter size copy paper and should fit within the printable area. If you're making them for someone smaller or a child, or if you don't want your ears to be quite as big, you may want to print them out at 50% (5" ears) or 75% (7.5" ears) - you can experiment with this.
You'll need some felt or craft foam in blue and pink. You can buy it from a fabric store or a dollar store - I bought mine from a fabric store because they have super thick felt which can support its own weight better. You don't need much - two 8.5x11 pieces of blue, and another two 8.5x11 pieces of pink, or one 0.1 metre (10cm) cut of blue and one 0.1m (10cm) cut of pink if you purchase them off bolts at a fabric store. My felt cost came to $2.10 CAD.
You'll also need some glue (I used hot glue) and a hairband. (My dollar store hairband cost $1.25 CAD and I bought some silly sunglasses for another dollar to add to the costume.)
Cut out your pattern pieces out of paper and trace them on to your felt, making sure that the pattern pieces are writing side up. You need: Two ears in blue, two ear tops in blue, and two ears in pink.
Glue the blue and pink ears to each other. Make sure as you hot glue around the edge you glue about a half inch in from the edge so your glue doesn't show as it squishes together. I'm also pretty sparing with the hot glue - the minimum needed to attach the pieces.
Now, hot glue the ear tops in blue to the bottom of the pink portion of the ear. This simulates the fold of Stitch's ear. Just put a line of glue along the edges marked with a dashed line, so that the ear top is not firmly glued down.
Once this join is fully set, bend the bottom of the ear up, and pull this ear top down so that they overlap. This gives your ear a 3D shape. Glue the ear top piece ON TOP OF the folded up bottom piece (this matches how Stitch's ears overlap - if you need help with this, have a look at Stitch's ears near the base).
Cut a thin strip of blue felt that will cover your hairband. This makes sure your hairband matches your ears.
Put the hairband on, grab an ear, and head to the mirror. Experiment with where to put the ear so that it looks best with your face shape. Put a mark on the hairband so that you remember.
Measure the hairband to repeat the mark on the other side. If you want to create one of Stitch's silly expressions, you can choose at this point to glue your ears on asymmetrically rather than perfectly even. If your gluing in Step 6 or Step 7 wasn't perfect, this is a great way to salvage the project!
Glue the ears to the headband. Put the glue on the inside of the circle created by Step 7, so that the glue isn't visible in the finished product. You may need to trim the bottom of your ears if your pieces of foam or felt didn't quite line up, or if the angle created isn't exactly right for where you want to put the ears on your headband.
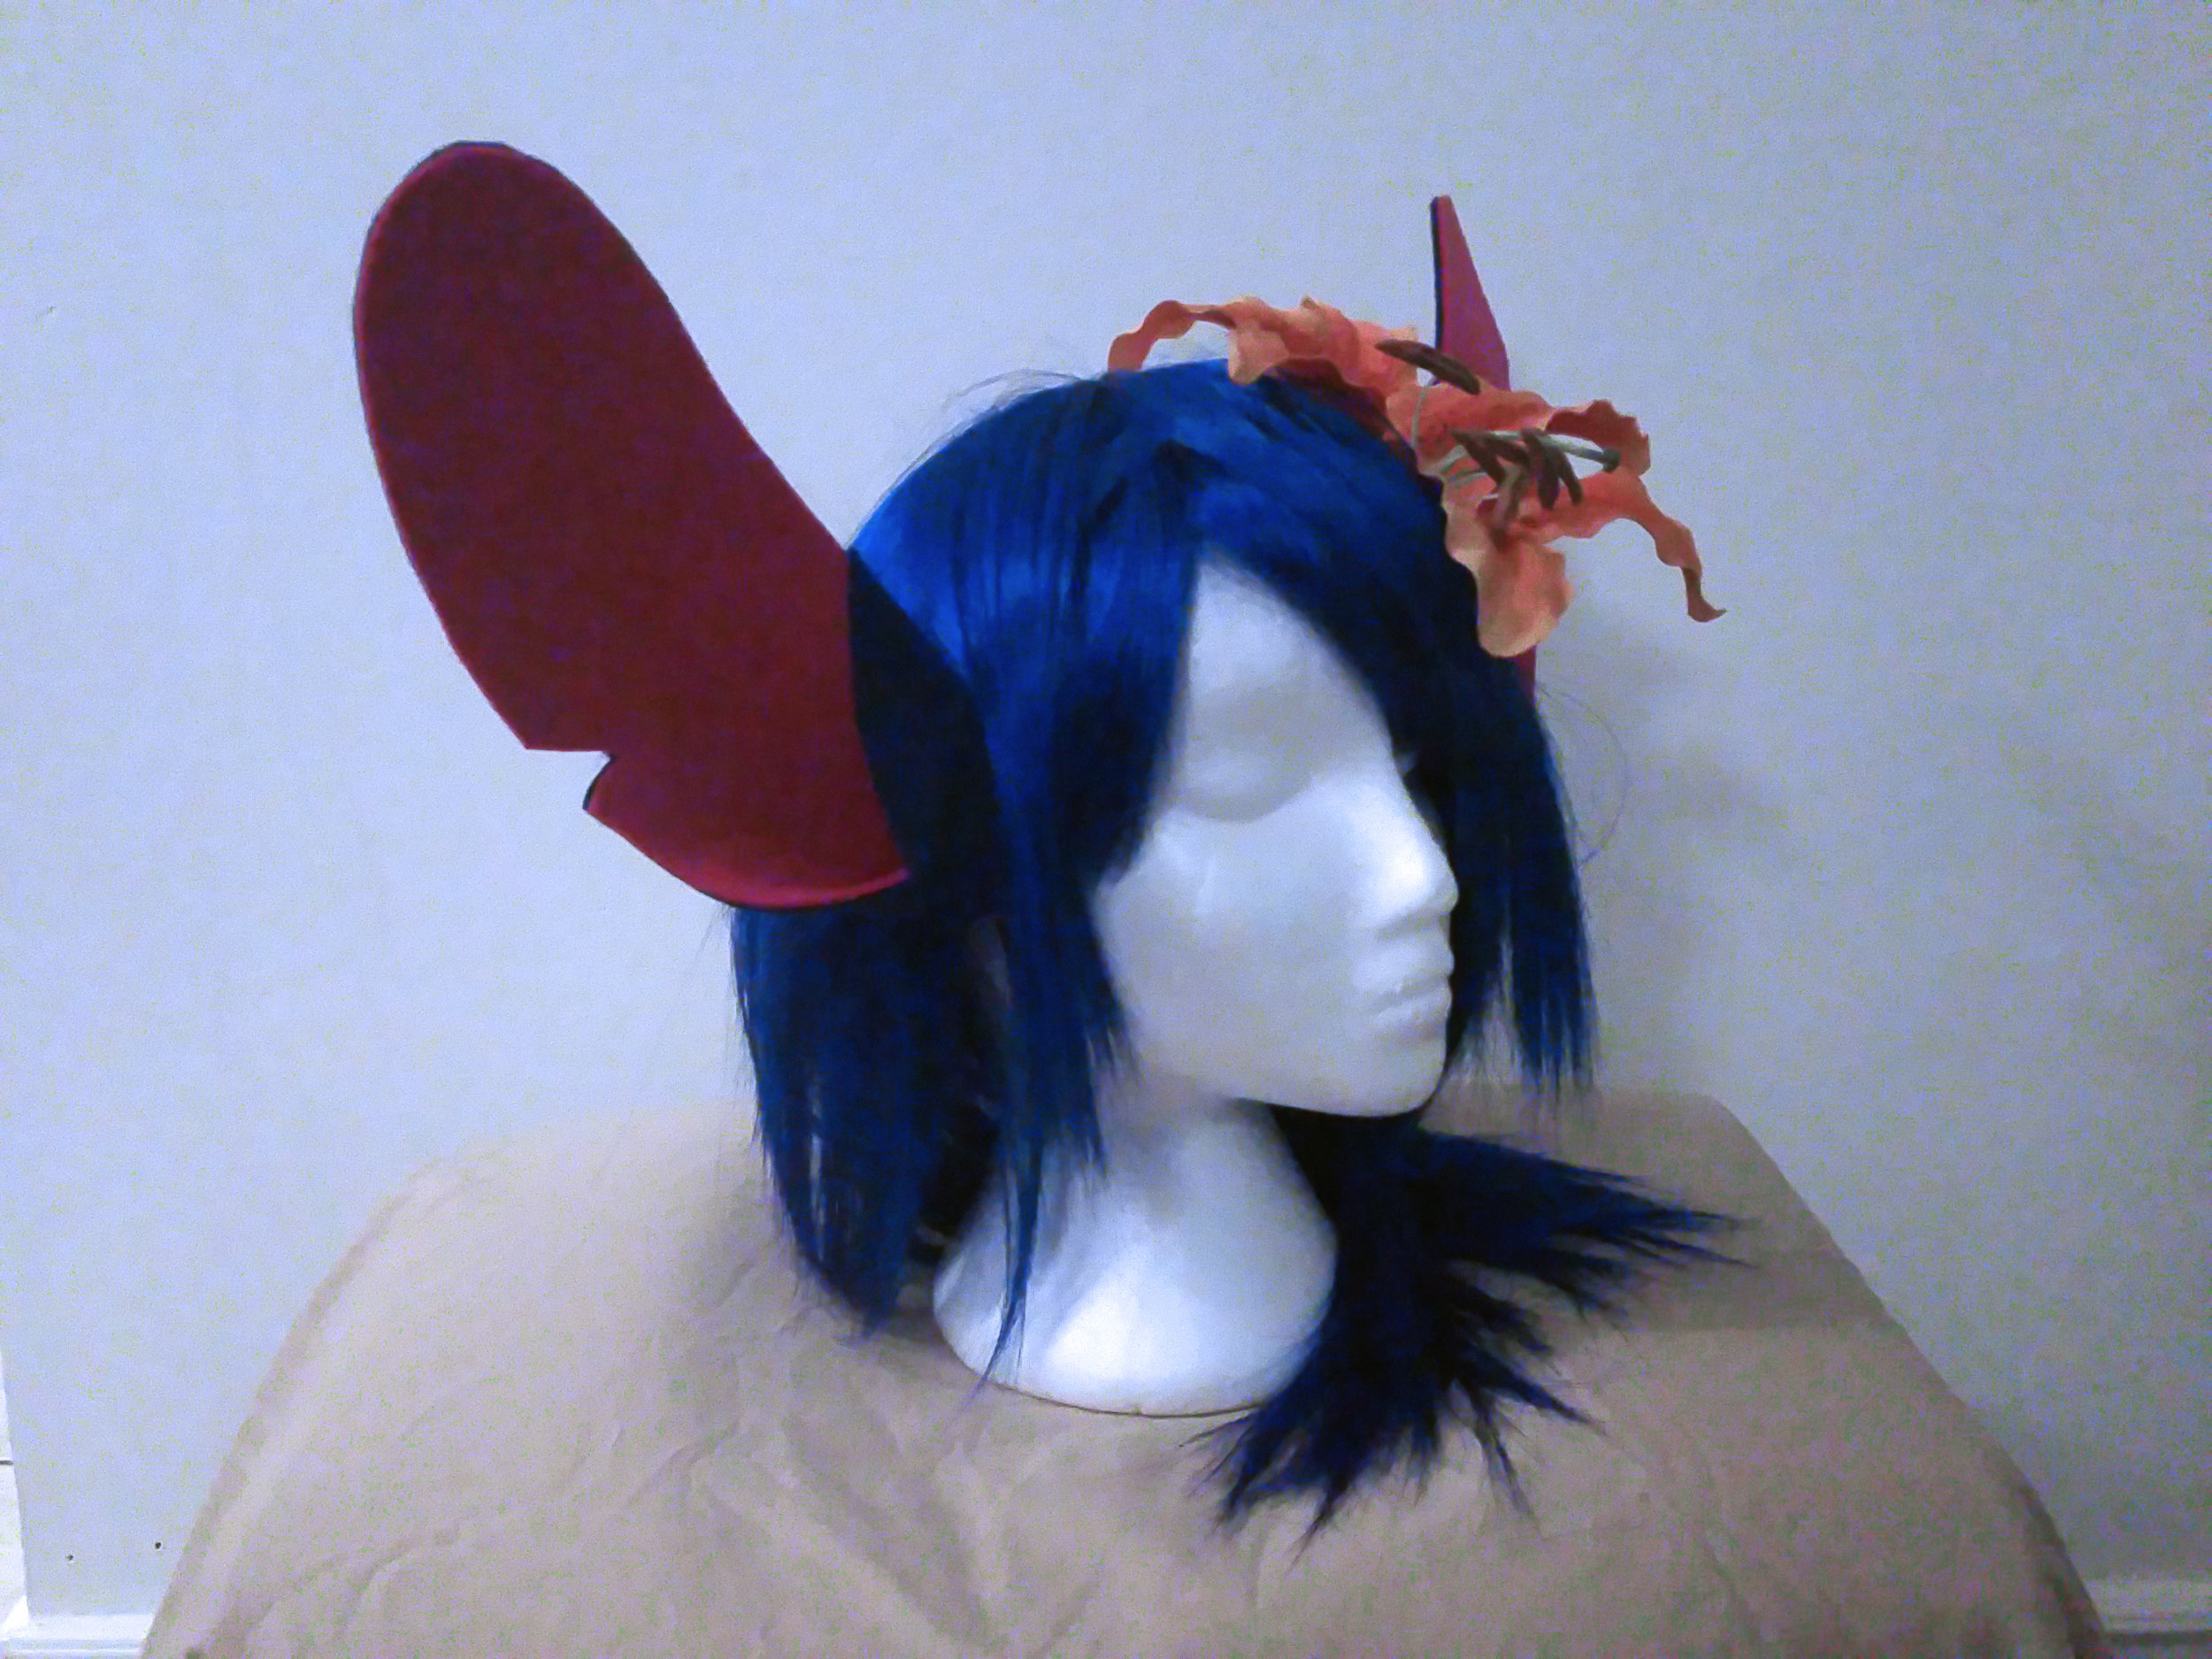
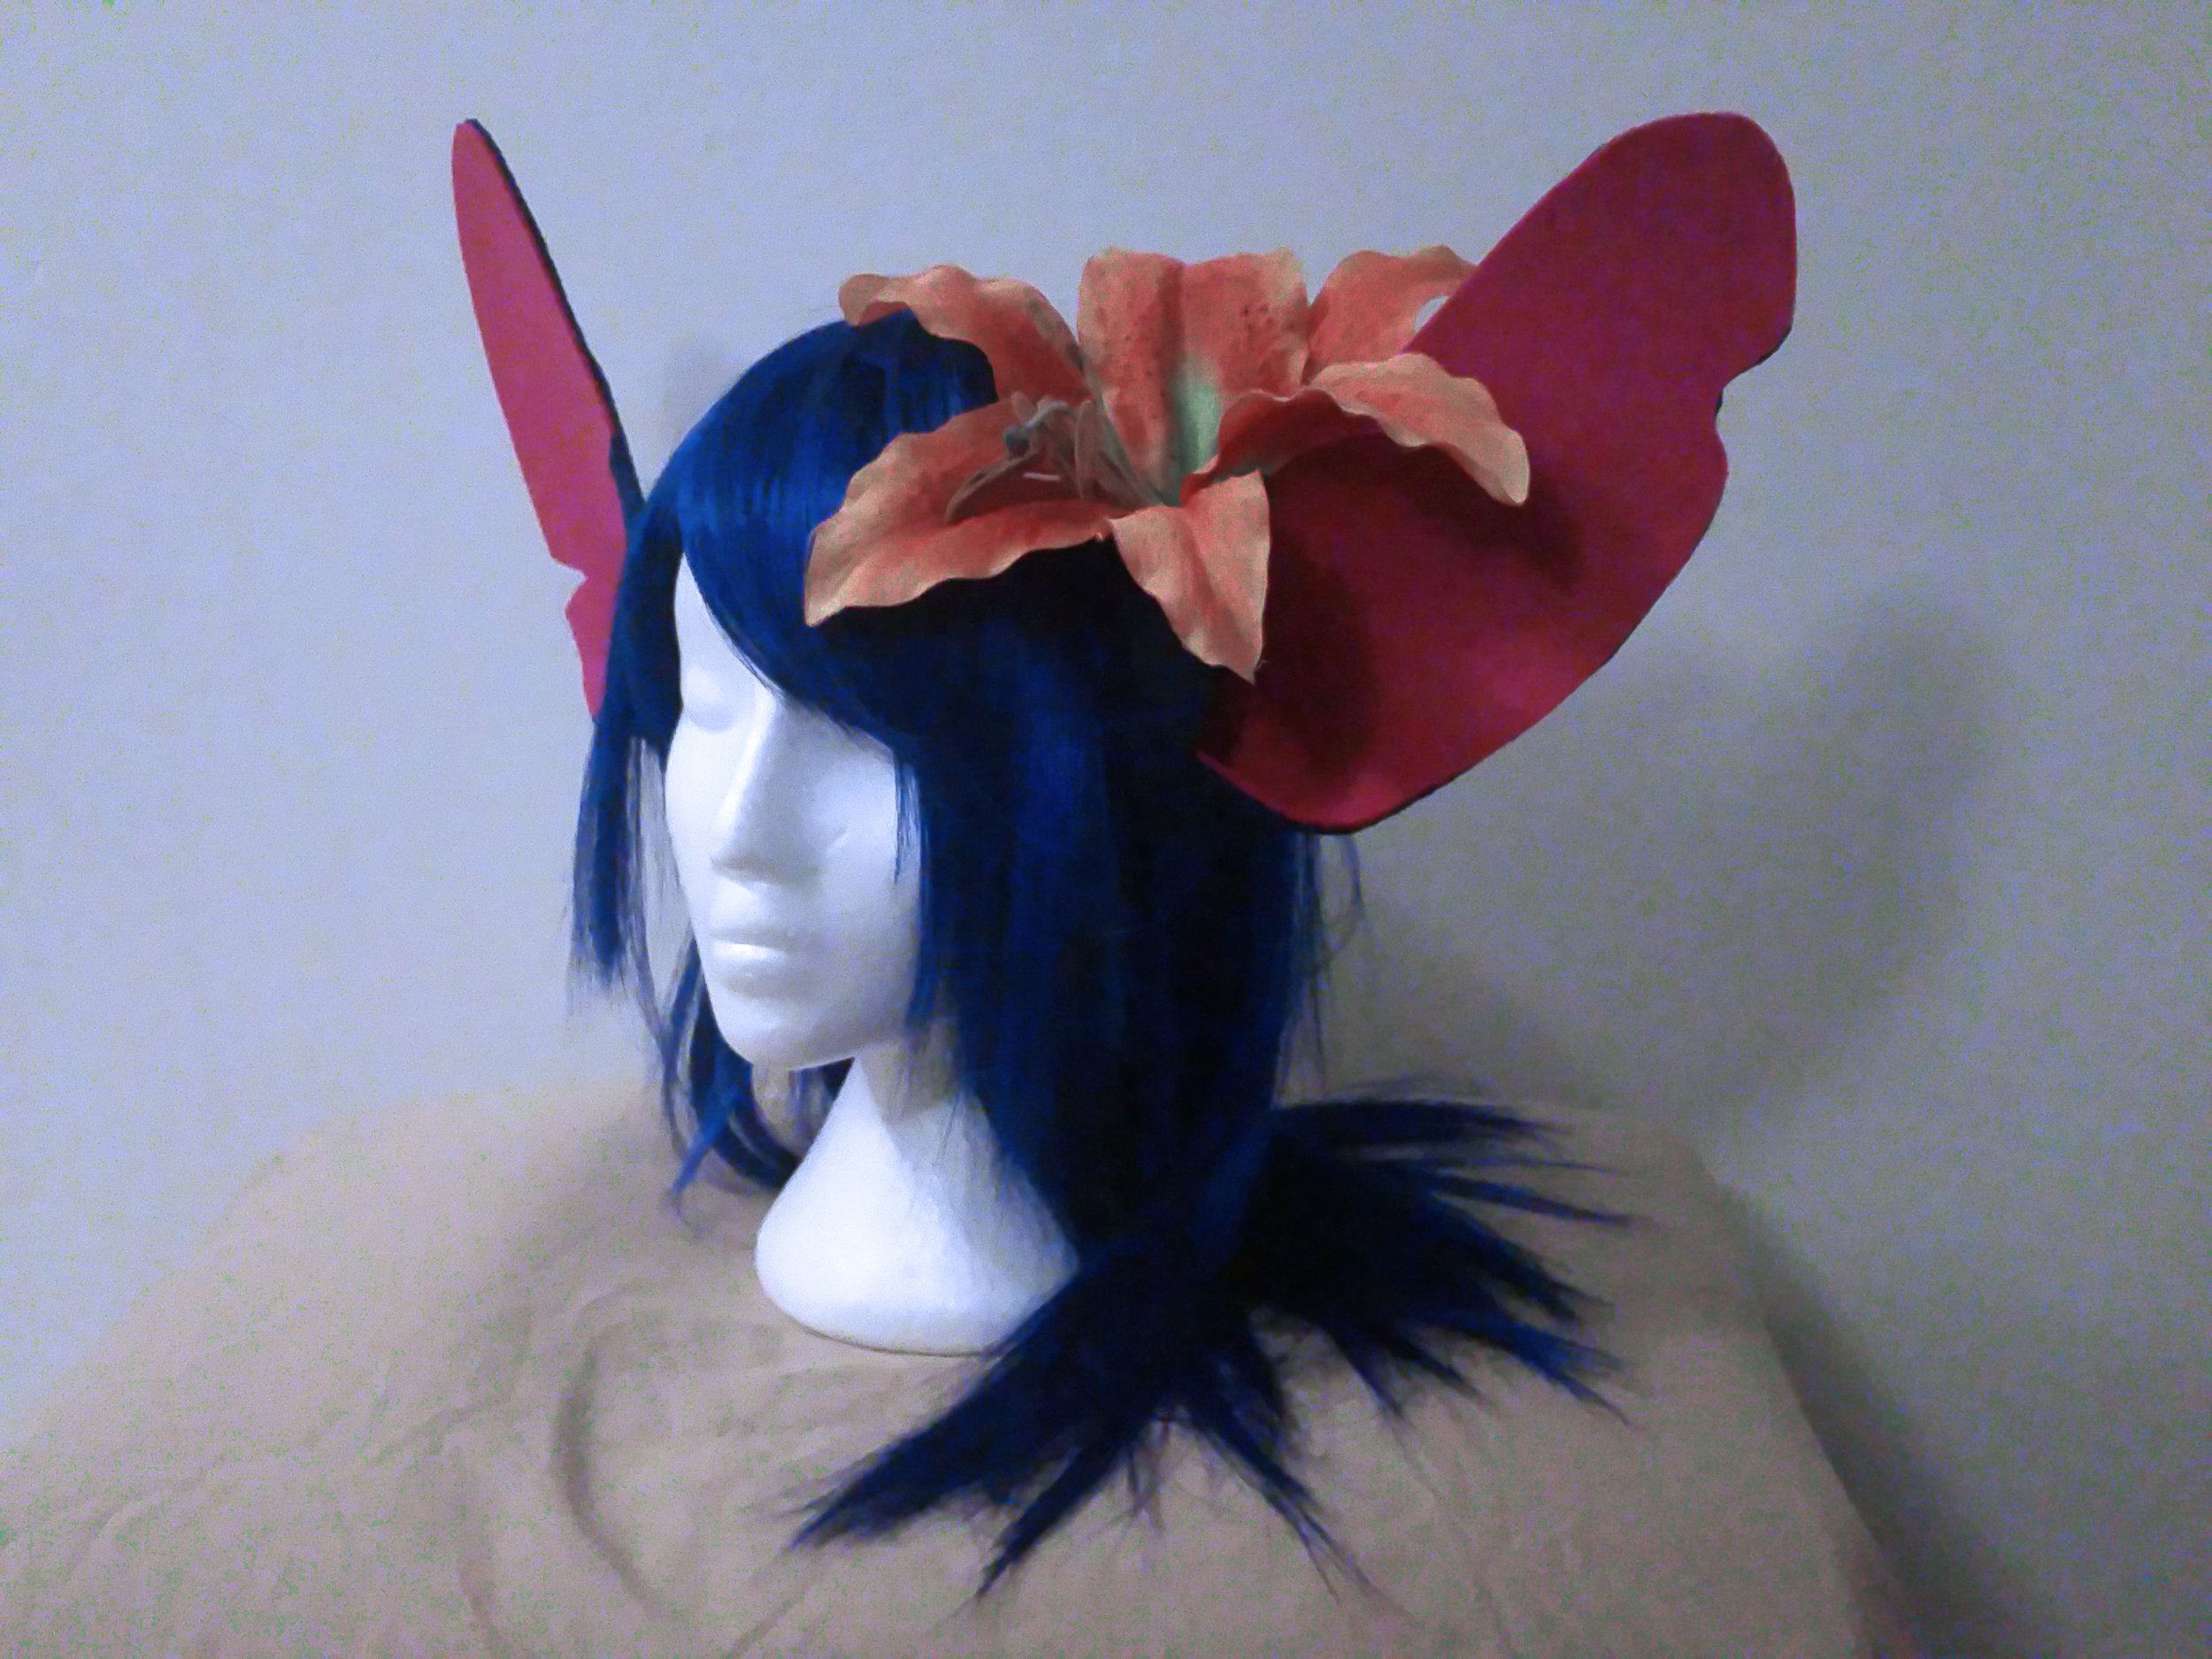
Aaaand you're done! Take a picture and share it with me on Instagram or Facebook (@jessicaharkonnen) so I can see how they turned out!
Here are my finnished ears. Click on any image to make it bigger!